
Listen to the article.
How good does it sound to you to have your own mini FM station? Transmit and listen to whatever you please. From thousands of online radio stations to YouTube videos and shows.
I want to share my love of radio with you by showing you how to build your home mini FM radio station. In this article, I’ll guide you through the process of setting up a simple FM transmitter to broadcast music and other audio content around your home.
At the end of this article, I will show you how to take your station to the next level with Raspberry Pi and Volumio OS.
What is an FM Radio Transmitter?
An FM radio transmitter is a device that converts the electronic input signal into a radio wave. It works by generating a carrier frequency which is used to transmit wirelessly a frequency-modulated (FM) signal in the air.
On the other hand, the Radio receiver synchronizes to this frequency and converts the Radio wave back into an electronic signal. This “weak” signal is then amplified inside the receiver and used to drive the speaker.
The advantage of this type of radio transmission is that it can cover huge distances. This signal can also be received by an unlimited number of receivers.
What You’ll Need To Start This DIY Project
The goal of this project is to have a Mini FM Station at home. It will transmit and cover the whole home. For this project, we will use a low-power FM transmitter.
If you want to use a more powerful one in the future, make sure with local regulations that it is allowed! As there are restrictions on transmitting radio signals at long distances.
Bare minimum requirements:
- An FM Transmitter
- A 3.5mm Male-Female Cable
- An FM Radio
- A media player, like a computer, smartphone, or anything that is equipped with a 3.5mm audio output jack.
For the full solution, the following will be needed as well:
- A Raspberry Pi with a 3.5mm audio jack
- A Micro SD Card
- 2 x Micro USB Cable
- A Power Adapter 5V/2A
1. The FM Transmitter
I am using a mini FM transmitter intended for cars but that works fine for our project. It is pretty cheap at under $6.
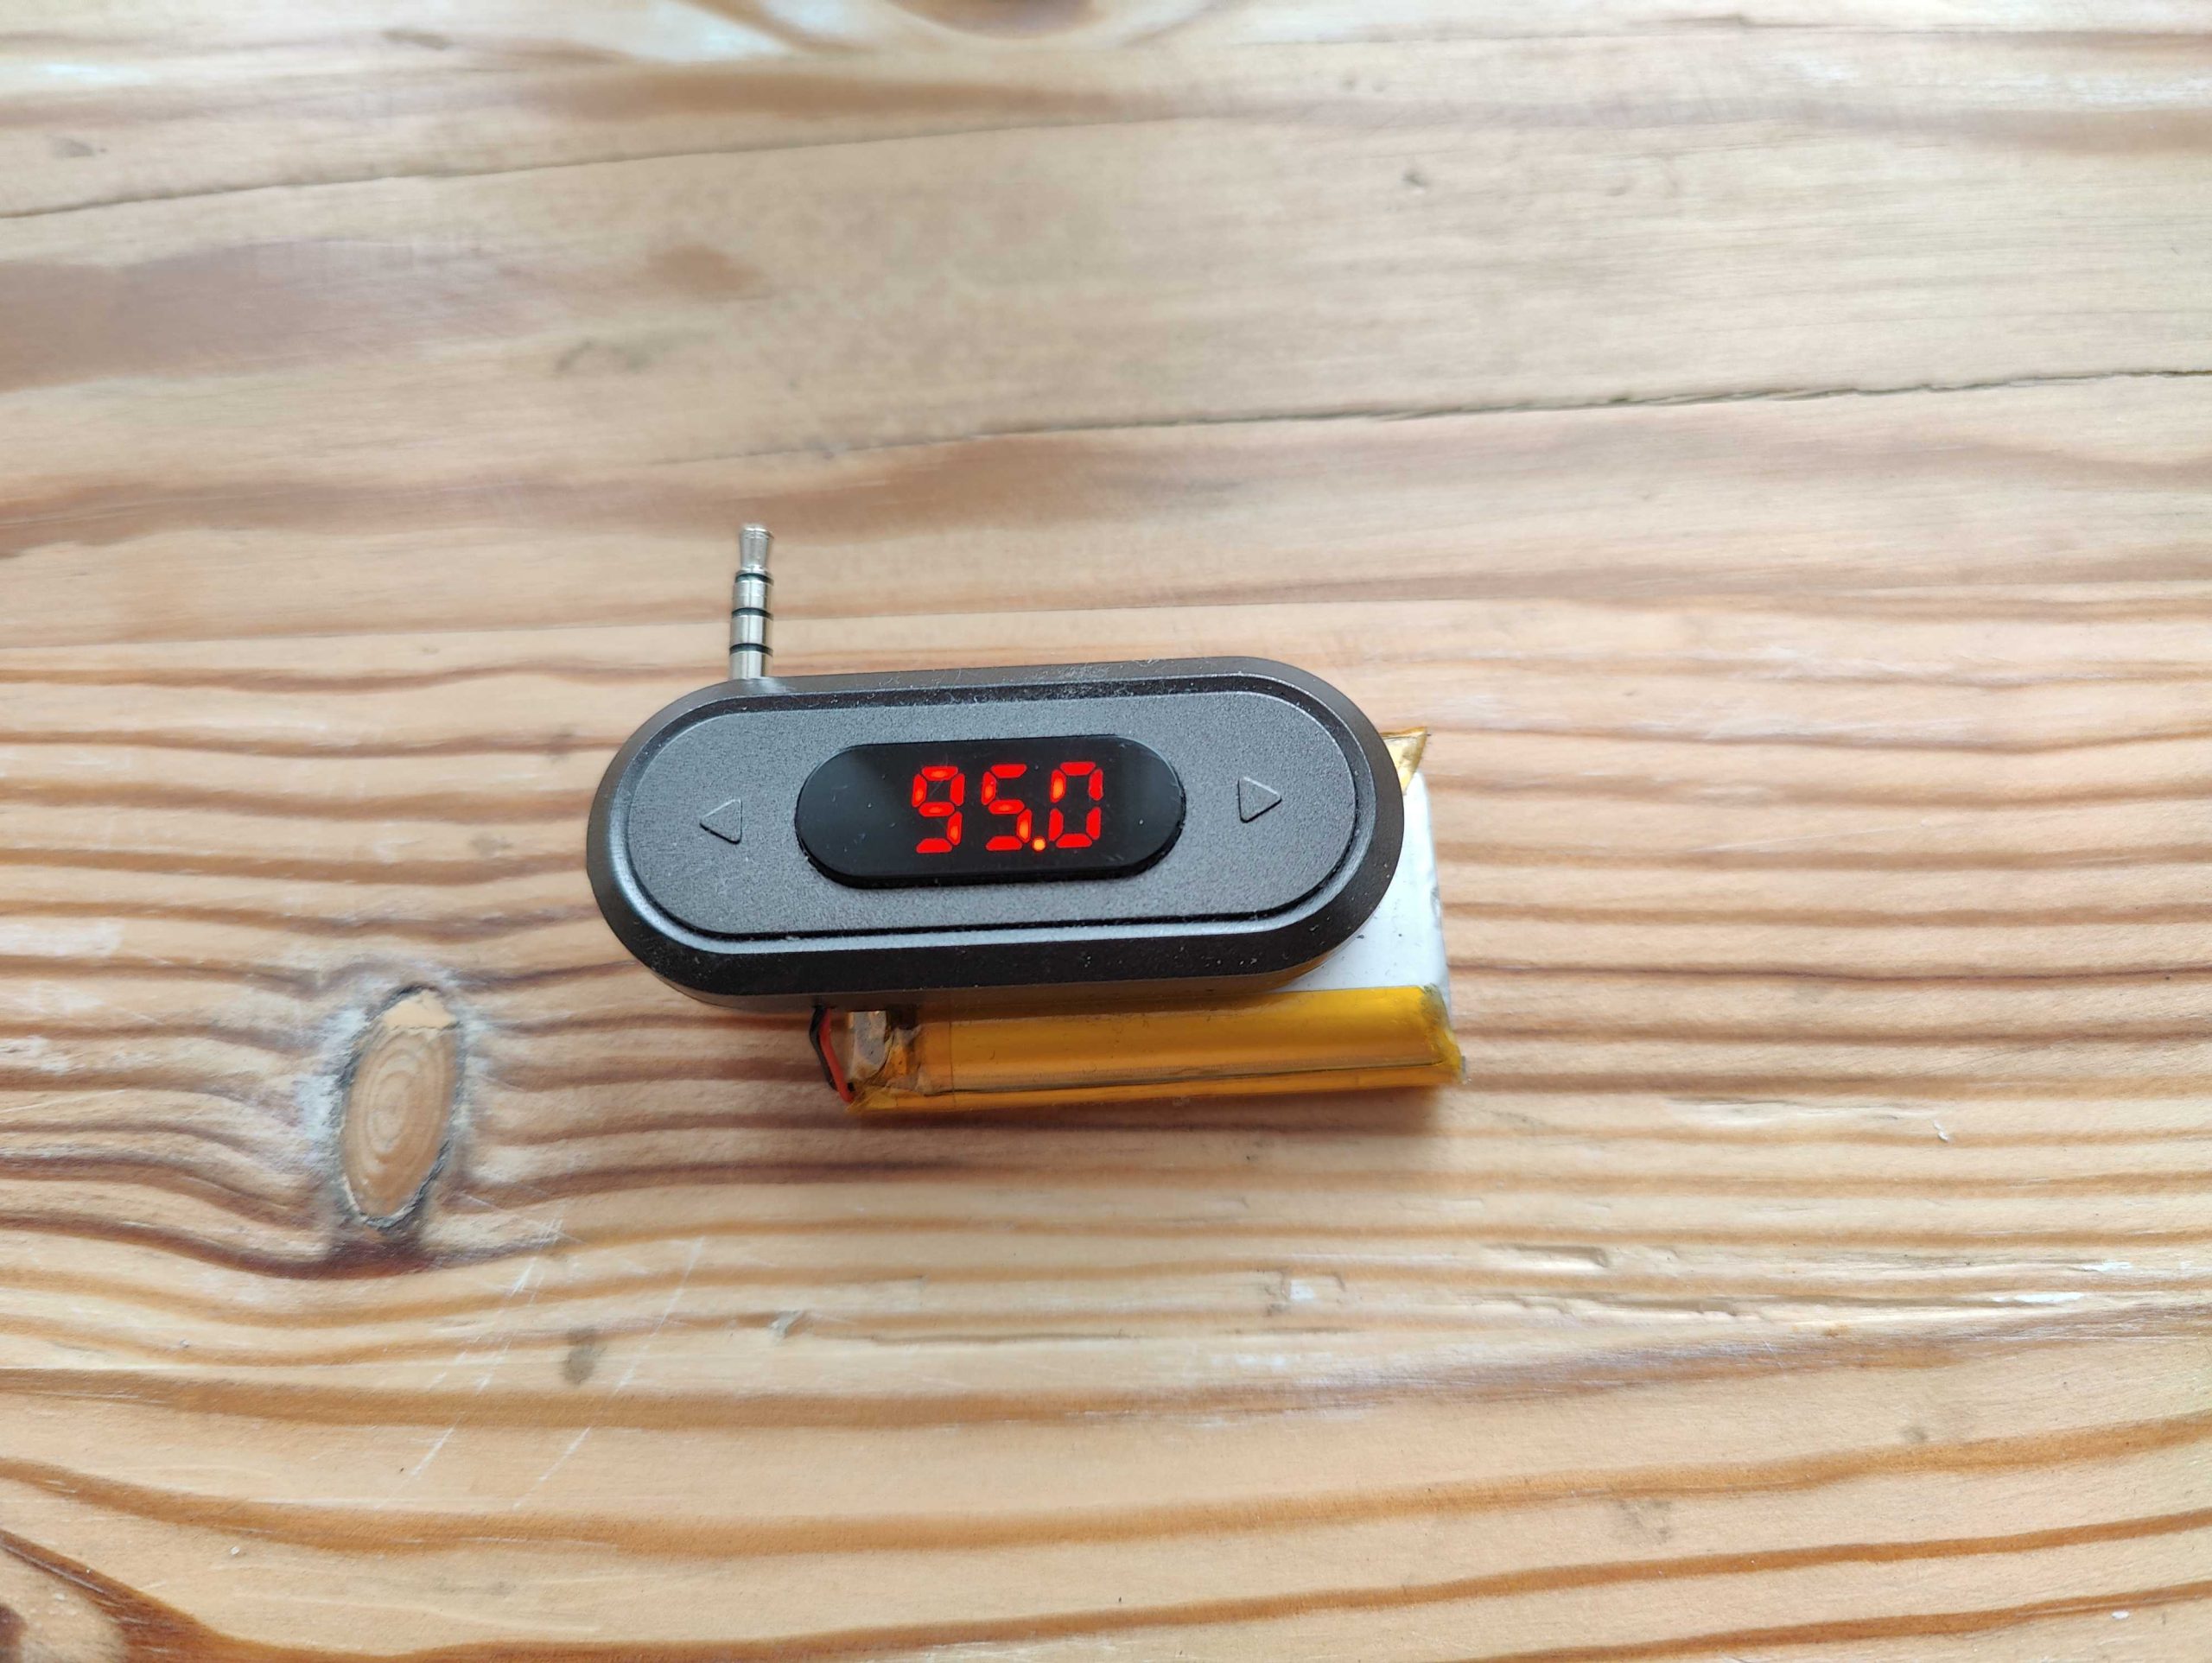
Ignore the bulk battery I have attached to it. It was a modification for longer playing times. You can order yours from this seller by clicking here. Or you can find it online from other sellers with the name: Doosl DSER107.
Tip: I recommend ordering more than one, just in case you want to make modifications as I did.
2. The 3.5mm Audio Extension
This is not absolutely necessary but it helps with the arrangement. Because without the 3.5mm extension cable you will be forced to attach the transmitter to the body of the media player.
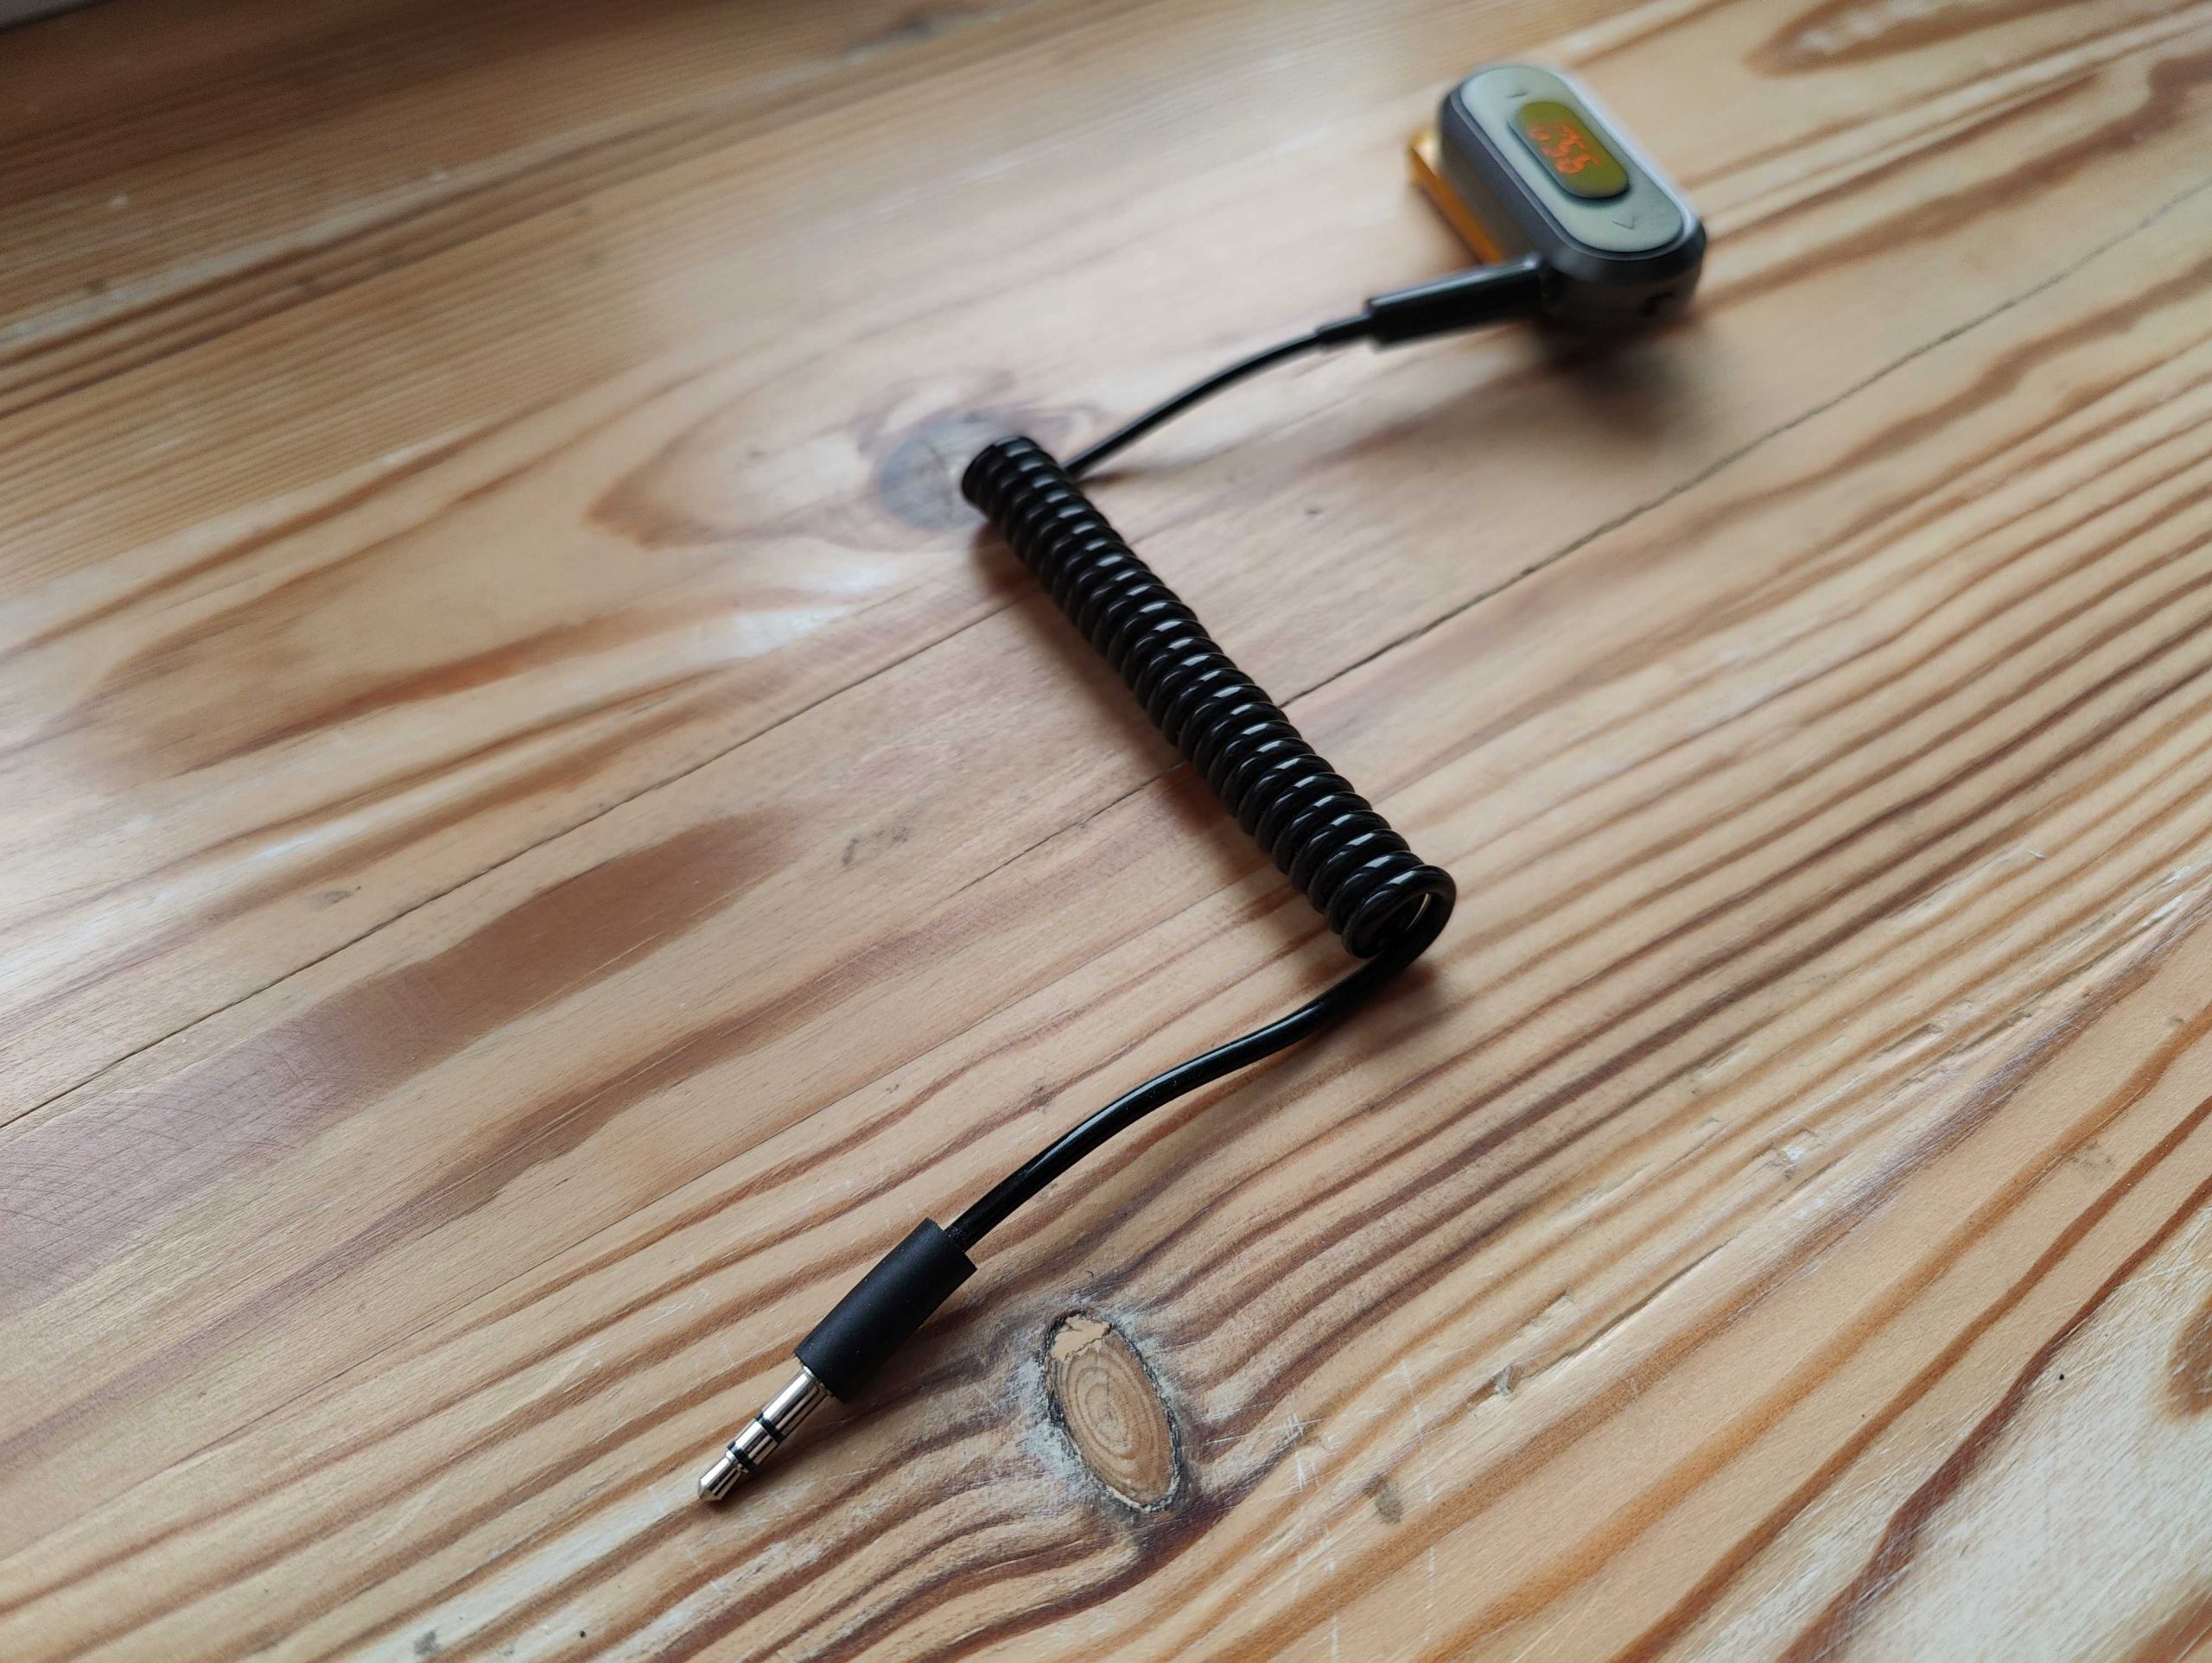
Another reason for using this cable is to avoid signal obstruction from the media player. It is highly recommended to keep the transmitter as far as possible from other electronic devices.
To find this cable just search for a 3.5mm audio jack extension or order it from this seller by clicking here. It is very cheap at around <$2.
3. The FM Radio
This is obviously the star of the show. It is probable you already own an FM radio. If you don’t own one, I’d suggest a good quality one, so that you can really enjoy it for a very long time. I would suggest the brand TECSUN, they have produced many models.
The model I like most in the minis is TECSUN PL-380. You can probably find it on Aliexpress, etc.
If you want to order the FM Radio together with the transmitter and the extension cable, you can do so. Unfortunately, the website from where I ordered the FM transmitter does not offer any TECSUN radio. However, here is a very good alternative: click here to go to the order page. The price is around $19 at this moment.

This is just a start, to equip you with everything you need. I suggest making your own research and finding better FM Radio receiver options.
I’m not affiliated with the website selling these items. I find them a good option and you can order these three items in one shot.
Setting Up Everything Step by Step
- Charge the FM transmitter using a Micro USB cable. You can attach it to your computer or some ordinary USB power adapter.
- Turn on the FM Radio and find an empty frequency. Use the frequency tuner until you find a frequency that has static only. Make sure the closest stations to the free frequency are not too close. Note down the frequency number you see on the Radio’s display.
- Use as a media player your computer or any other device that is equipped with a 3.5mm audio jack. Same as you would do with wired earbuds.
- Attach the audio extension cable male side to the media player and the other side with the FM Transmitter.
- Turn on the FM Transmitter and use the buttons to set the frequency the same as those we noted on the radio. Remember, the free frequency.
- At this moment, turn on the FM Radio and the static should be gone, it will be completely silent.
- Start playing some audio on the media player device, it should sound directly on the FM Radio.
If you hear what is playing on the FM Radio, congratulations.
Now you are transmitting in stereo FM same as huge radio stations do. Just your setup has a closer range.
Troubleshooting Common Problems
If you can not hear anything on the radio try the following:
- Make sure the audio is playing on the computer or media player. Try attaching your usual wired headphones.
- Make sure the FM Radio works by tuning in at another station that is broadcasting.
- While the Radio is ON and tuned at our Free Frequency you should hear static. At this moment turn ON the FM transmitter, and the static noise should become completely silent.
- If the static noise becomes silent, it means that the FM Transmitter is working.
- If there is still no audio from the Radio then it means that the extension cable is not working properly. Try attaching the FM Transmitter directly to the media player if possible.
Tip: The built-in battery of the FM Transmitter will die after some hours of use. You can keep the Micro USB charging cable plugged in for uninterrupted transmitting.
Another annoyance is the noise that you might hear while charging and transmitting at the same time. This is because the power adapter is not of high quality and does not filter very well the power output, disturbing the transmitter.
Find a higher quality USB power adapter, do not use a cheap generic one in case you will power during transmission.
Advantages Of Using Raspberry Pi With Volumio OS
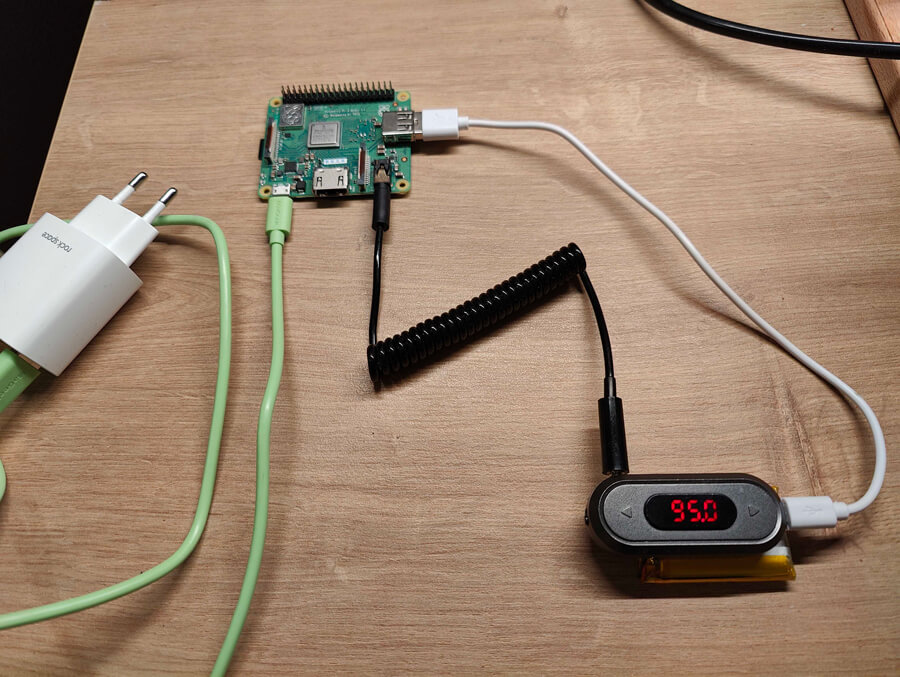
If you want to build an autonomous station that does not interfere with your computer. That can be controlled easily via a smartphone app then you will need a Raspberry Pi device plus a Micro SD card for installing the system and use as a storage device as well.
Tip: On the Micro SD card, you can copy MP3 music and other audio files which can be played and broadcasted.
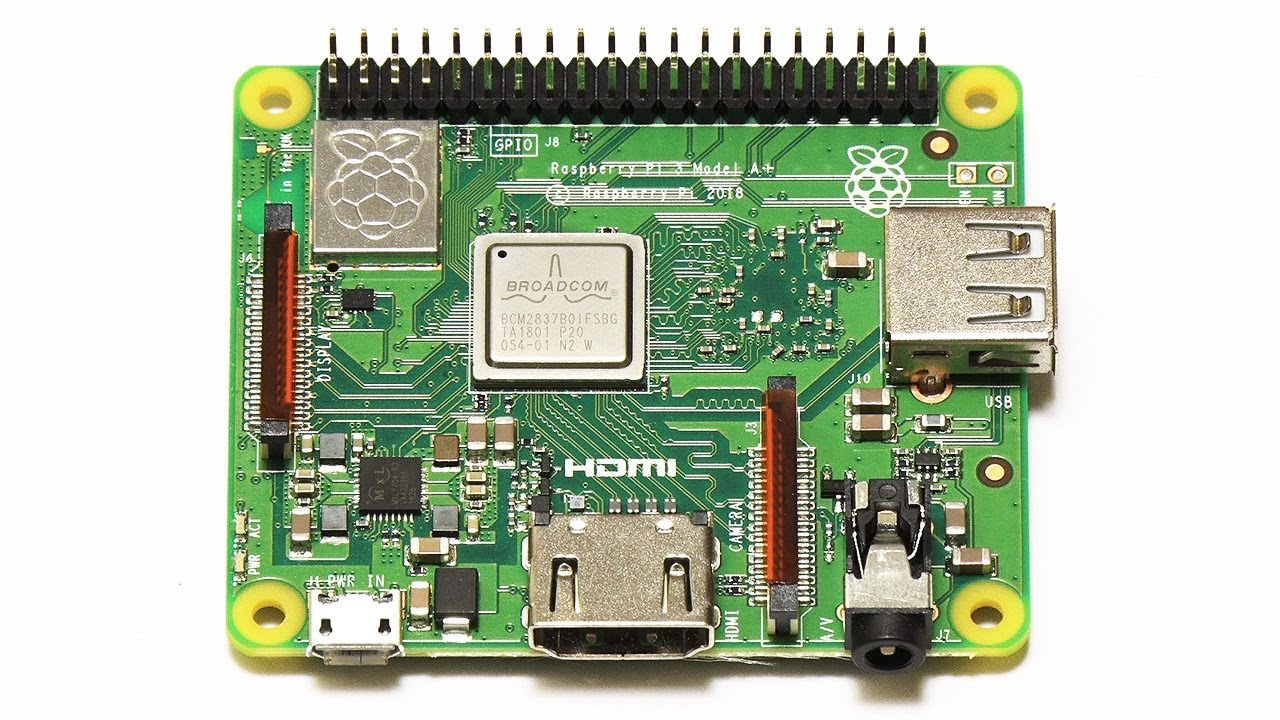
A Raspberry Pi with a 3.5mm audio jack
There are several versions of Raspberry Pi, for this project we don’t need an expensive one. The only hardware requirement is the 3.5mm audio jack output.
For this, I would recommend finding a Raspberry Pi 3A or 3B. Newer and more performant versions are fine too.
In general Raspberry Pi is lacking in supply due to high demand. I suggest trying to find one on Ebay or other similar channels.
Raspberry Pi has wireless connection capabilities, this is how it will stream content for you.
What is Volumio OS
Volumio OS is fantastic software for turning your Raspberry Pi into a media player. Not only it will play music at high quality but with the use of some plugins you can stream thousands of internet radios from around the world. YouTube channels can also be streamed, and that’s fantastic.
Imagine your little setup able to play thousands of radio channels. Controlling everything nicely from your SmartPhone or computer wirelessly. To learn more about Volumio, click here.
Would you like make questions or share ideas about this? Join our private Facebook Group and let’s discuss together!
Recommendations:
- Raspberry Pi requires a high-quality power adapter.
- It also requires a high-quality USB-A to Micro USB power cable.
- You can power your FM Transmitter directly from the Raspberry Pi USB port.
Conclusion
This is a fun little project I recommend for enthusiasts. To bring it even a step further, you might use a more powerful FM transmitter just make sure with the local regulations.
I play worldwide radio streams every night using my little Raspberry Pi + Volumio OS setup. I can’t imagine going to sleep without listening to something. Most of the time I fall asleep with the radio on. It has never disappointed me since I started using it.